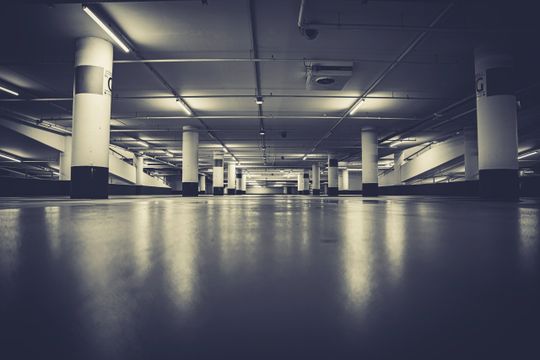
If you are finishing your basement, updating a living area, renovating your garage, or installing flooring in a commercial building, you may want to consider epoxy flooring. Hire an epoxy floor Staten Island company like ATK Epoxy Floors, and the process will be professional and painless. You can enjoy a waterproof, slip-resistant, durable floor in no time! Here’s how the process works.
Assessing and Prepping the Floor
We work with our customers to provide a durable, beautiful floor that will last for many years. We discuss your location and needs, which helps us determine how much traffic will be traveling over the floors. Part of the process is to help you decide on colors and designs to fit with the color scheme of your space.
Once you’ve decided on the product, we schedule a time for installation. We’ll need to prep the area, which includes making sure the surface is free of dust and other materials. The surface must be smooth to bond correctly with the epoxy liquid. This may require grinding or shot blasting to remove the buildup of grease or grime.
Repairing Imperfections
The next step is to repair any damage to the floor. Filling in holes and cracks helps the epoxy form a stronger bond with the base layer. Our team will use an epoxy paste or epoxy patch kit for larger cracks. Removing these imperfections helps us make sure that your epoxy floor is smooth and well-bonded.
Sanding and Drying the Base
We’ll then sand down any rough spots on the concrete. This step will remove the rough, uneven sections while still providing enough texture for the epoxy to bond.
Once the floor is clean and the surface is ready to work on, the area must dry. Epoxy won’t adhere if there is any dampness to the concrete. We’ll use a heat lamp or hot air gun to help a space dry faster, especially in a humid area like the basement that could take hours to dry.
Applying Primer
The experts at ATK Epoxy Floors will apply a primer to help the epoxy bond. Primer goes on quickly, but it is a critical part of the process. It helps the epoxy adhere properly.
Once the primer has had a chance to dry, the next step is to apply the epoxy over the primer. Our team will mix the epoxy just before use because it dries quickly, then they will begin the application.
Applying the Epoxy
The first coat is applied from the back, moving towards the exit. After the first coat has had time to dry, our epoxy experts will check the floor for holes or cracks and fill it with the epoxy filler. If we don’t find any issues, or after filled spots are dry, we apply the second coat.
Once the second coat is applied, you will need to wait at least 24 hours before using the room. The final epoxy layer should be completely dry and solidified before you walk on it or replace furniture.
ATK: Epoxy Floor Staten Island Experts
If you would like to know more about epoxy flooring or want to update your flooring, contact ATK Epoxy Floors. Give us a call to schedule an appointment or to get your questions answered.
